Editing Secondary Page
The Agency Secondary Page Template acts as a landing page for a navigation topic. It displays a listing of items that have been tagged to that specific topic/sub-topic. So if you have a navigation topic titled "Transportation", the secondary page would display content about transportation only.
Note: System Administrators can modify this template from the Content Editor as well.
Most Popular Results List
The Most Popular Results list displays five of the topic's most popular services. These services can be links to topics or pages within your website, a document file (such as a pdf), or an external website.
Adding a New Link
- Navigate to the secondary page you wish to edit.
- In Edit Mode, select the Add Most Popular Link.
- Select the Most Popular Services section of the page to activate the menu options.
- Select the Insert New Item icon
 to add a link.
 - Select the LinkItem image and rename it to the title you wish in the Name field.
- To change the hyperlink, select the Change Link
 icon.
icon.
- If linking to an internal page, browse to the file.
- If linking to an external site, enter the new URL.
- Select the Save
 icon located at the top left of the screen.
Editing an Existing Link
- Select the Most Popular link you wish to edit.

- To change the description, highlight the text you want to edit and change the text.
- To change the service name or hyperlink, see the Content Editor instructions.
- Select the Save
 icon located at the top left of the screen.
Feature Boxes
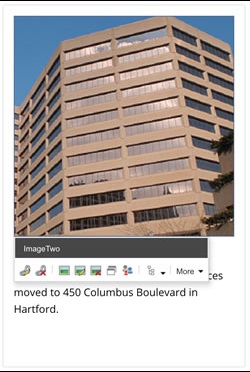
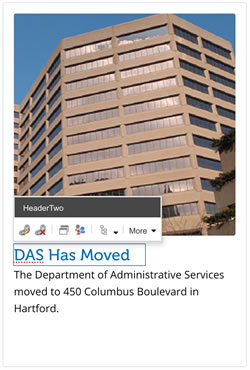
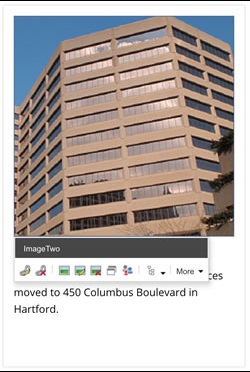
The Feature Boxes are similar to the Most Popular Services links, except there is a visual image accompanying it. You have three boxes you can modify and promote services from. The boxes can link to topics or pages within your website, a document file (such as a pdf), or an external website.
Changing an Image and Hyperlink
- Select the image in the chosen feature box to activate the menu options.

- Select the Choose Image
 icon to change the image.
- This opens the Media Library window, which shows all uploaded images.
- Select the new image you wish to use from the ones displayed. If the image is not displayed, then upload your new image.
- select the blue Submit button to add the image.
- To change the hyperlink, select the Change Link
 icon.
icon.
- If linking to an internal page, browse to the file.
- If linking to an external site, enter the new URL.
- Select the Save Changes
 icon located at the top left of the screen.
Editing a Title
- Select the title in the chosen feature box to activate the menu options.

- To change the title, highlight the text you want to edit and change the text.
- To change the hyperlink, select the Change Link
 icon.
icon.
- If linking to an internal page, browse to the file.
- If linking to an external site, enter the new URL.
- Select the Save Changes
 icon located at the top left of the screen.
Editing the description text
- Select the description text in the chosen feature box to activate the menu options.

- To change the description text, highlight the text you want to edit and change the text.
- Select the Save Changes
 icon located at the top left of the screen.

